

Fourth of July Feast: Burgers, Beans, & Cherry Ice Cream
Dad's grilling legacy meets coast-to-coast flavors: grass-fed burgers, elevated baked beans, and custard-based cherry ice cream for the ultimate holiday spread

Welcome,
I'm Jennifer, a culinary storyteller dedicated to reviving family recipes and the stories behind them. In my California kitchen, I recreate heritage dishes from Midwest farms, family favorites that have been forgotten or lost, and discoveries for today's tables.
Each week, I bring you the complete story: the recipe, its history, modern adaptations, and thoughtful pairings. I also share discoveries from the Coachella Valley desert, from restaurant finds to local experiences worth exploring.

This week, I'm rolling out a complete Fourth of July feast spanning the country, from California to the Midwest to New York, because what better way to celebrate America than with flavors from coast to coast? We're talking Dad's perfect grass-fed burgers, elevated baked beans, Erin French's stunning Napa wedge salad, my latest obsession (custard-based cherry ice cream), plus treasures from the archives like Mary Jane's potato salad and all the frozen treats I've been perfecting this summer. I've even discovered a delightful non-alcoholic sparkler from Long Island that's perfect for toasting the holiday.
For those who've been following along, you know that Dad was the king of Fourth of July celebrations. He'd man that grill with serious dedication, often grabbing the first burger right off the heat and eating it standing up while he finished cooking for everyone else. Sometimes, he'd wait to sit down and pair his burger with his famous baked beans or Grandma's potato salad, but more often than not, he was too excited about his creation to wait. The photos I'm sharing today capture the spirit of those celebrations: vintage parade scenes and snapshots of Dad from years past, when we celebrated holidays rather than photographing every moment.
This year's menu honors those memories while adding my own touches, including that cherry ice cream I cannot stop making (this season's cherries are just too good to resist!). It's a celebration of family recipes, discoveries, and the kind of feast that makes holidays unforgettable.


Love what you’re reading? Upgrade to paid for access to all the recipes and stories, commenting and chatting, and a marvelous community of fellow food storytellers, cooks, and bakers sharing their own memorable traditions.
Dad's Grass-Fed Burger
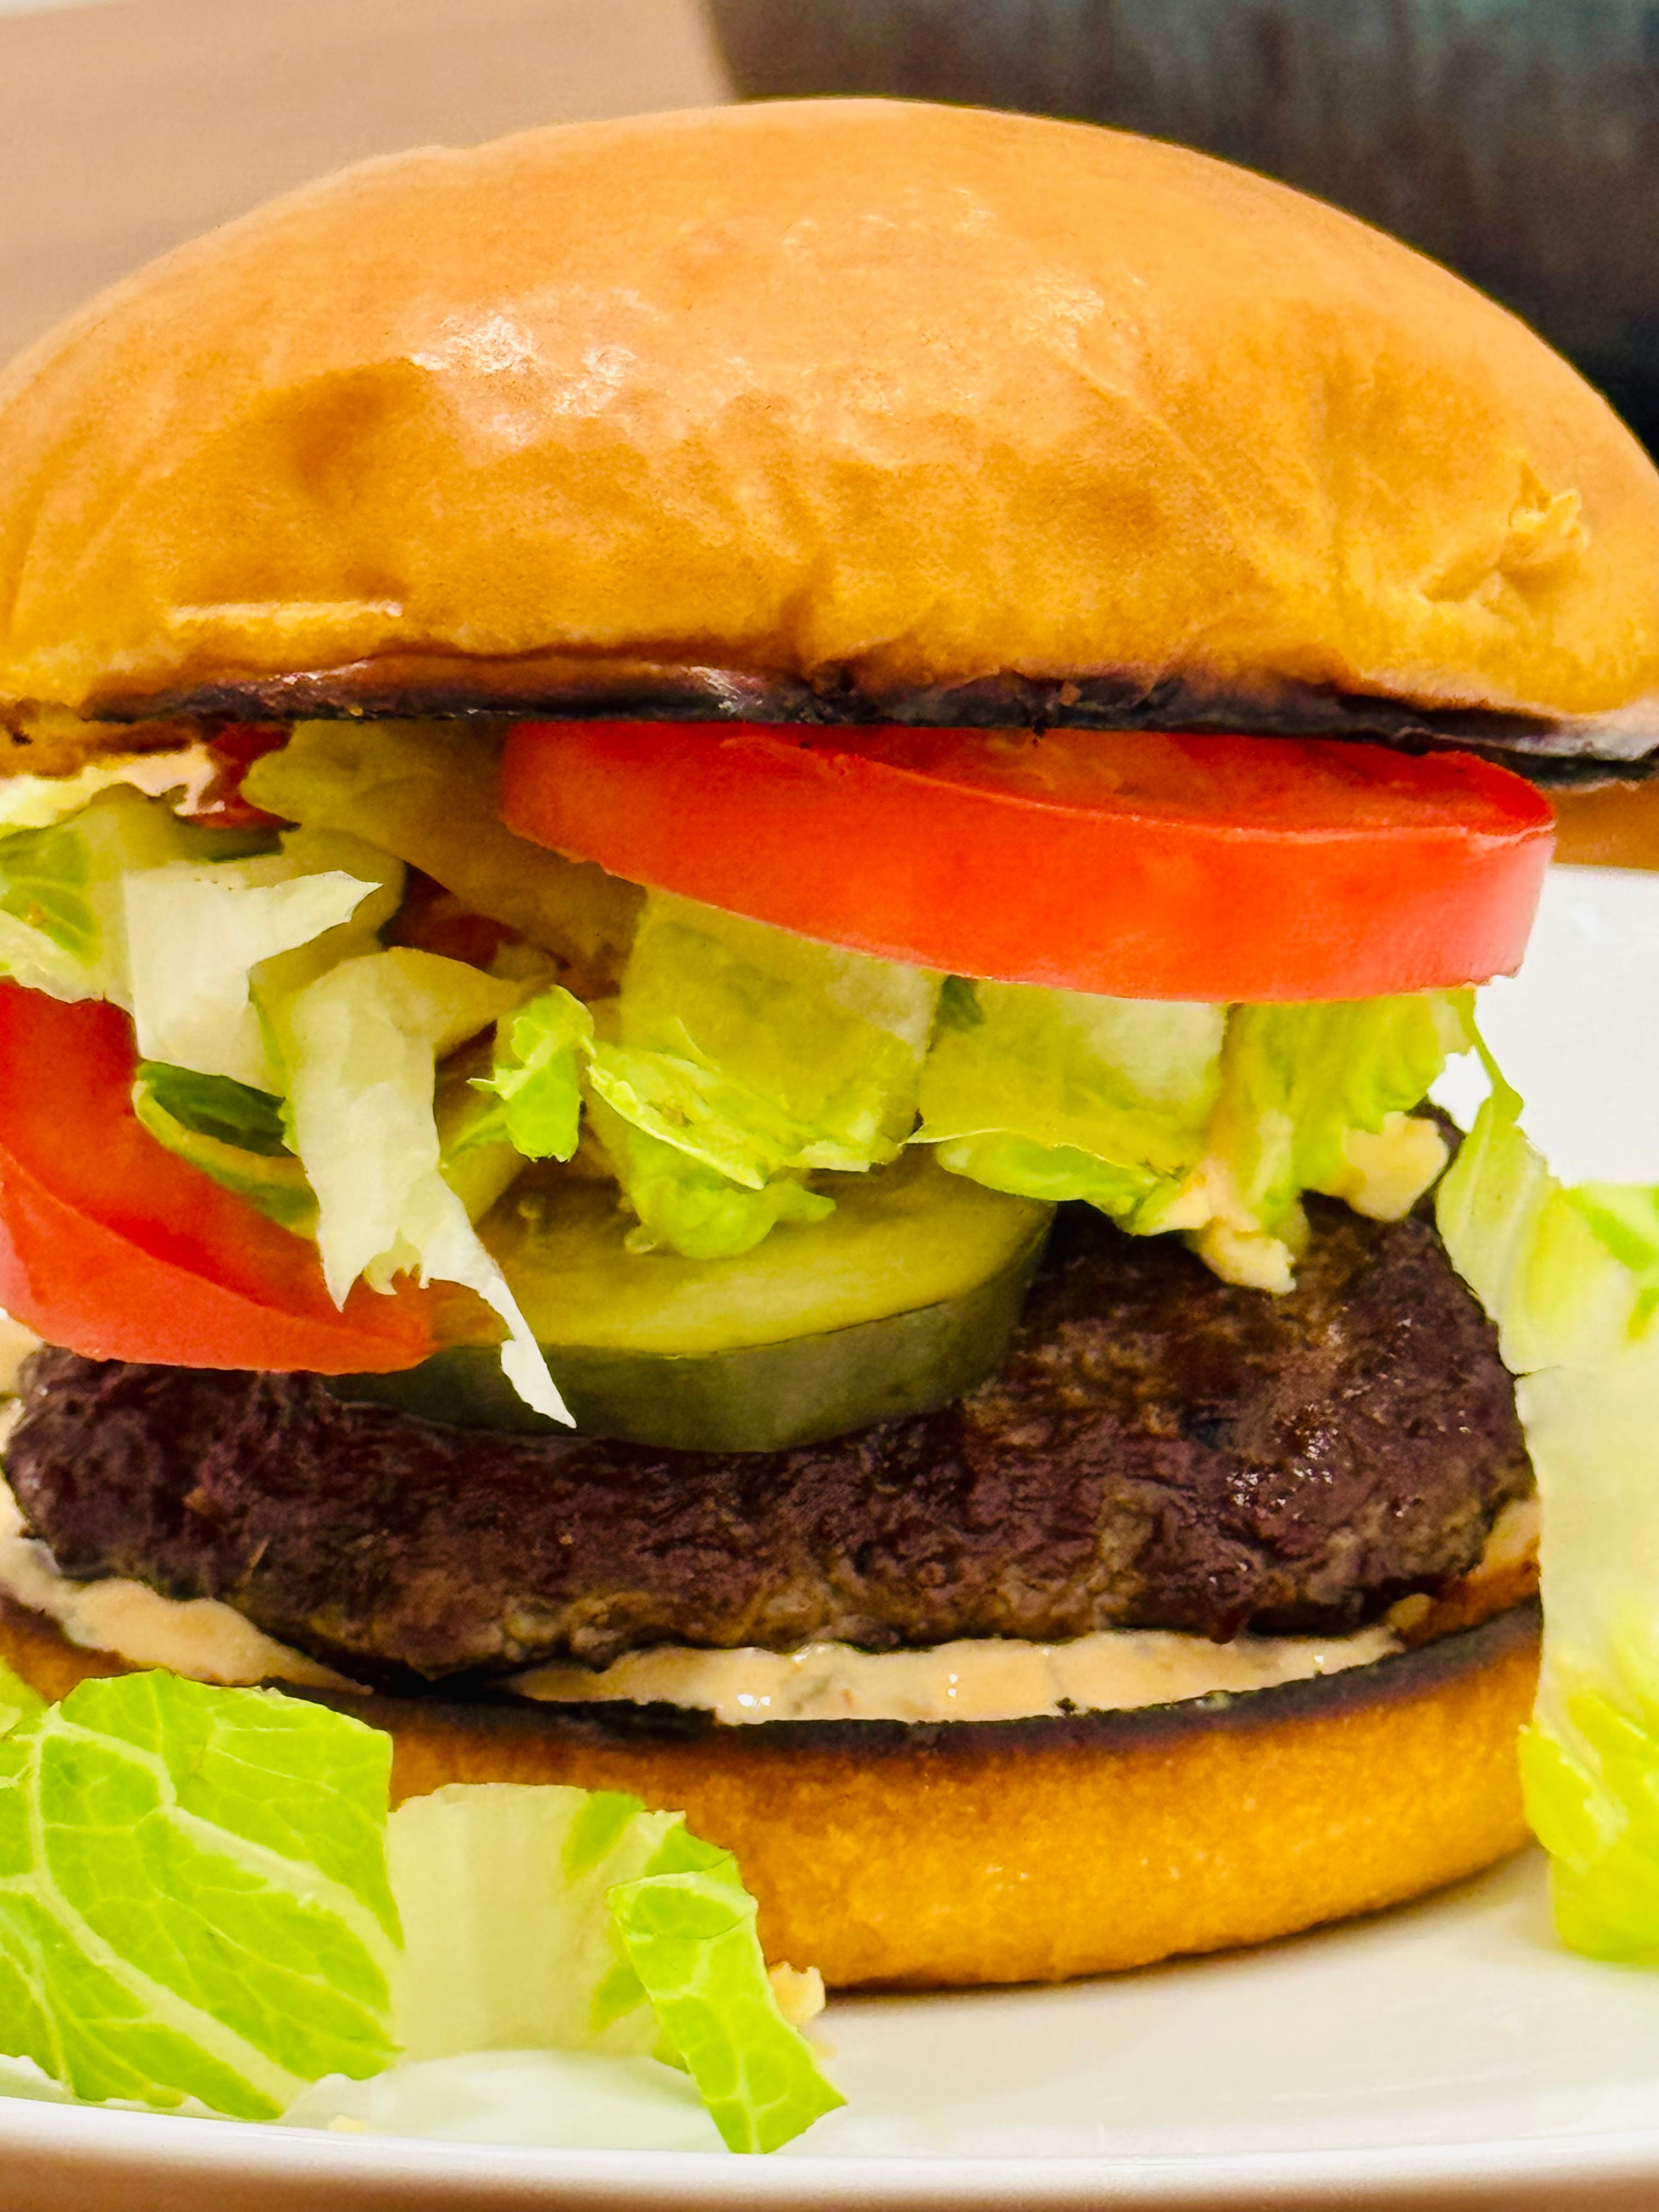
Dad was a savvy shopper who knew his way around a good burger. He'd hunt down grass-fed beef with exactly 20% fat content, starting at his favorite grocery outlet in Fountain Valley, California, then hitting Sam's Club or other stores until he found the right product at the right price. Dad didn't believe in wasting money — I had to practically beg him to buy more than one lime or avocado because he thought the prices were highway robbery! (I suppose they were when you remember ice cream cones cost 25 cents.) As for his burger? Just ketchup, mayo, mustard, and pickles, and lots of pepper, thank you very much.
Serves: 8
Time: 30 minutes (plus grilling time)
Ingredients
For the burgers:
2lbs grass-fed beef (80% lean/20% fat)
Kosher salt and black pepper
Porterhouse & roast seasoning (optional)
Hamburger buns
Build your own burger bar:
Greens: Green leaf, red leaf, romaine, arugula, radicchio, spinach, or butter lettuce
Tomatoes: Beefsteak, Roma, or heirloom varieties
Cheese: Cheddar, goat, blue, fontina, mozzarella, jack, manchego, or Colby
Onions: Red, yellow, or white (raw, sautéed, or caramelized
Peppers: Bell peppers, pepperoncini, banana peppers, or jalapeños
Pickles: Dill, sandwich, or Helen’s Icicle Pickles
Condiments: Best Foods mayo, Heinz/Primal/Rao ketchup, yellow or Dijon mustard, BBQ sauce, or relish
Extras: Bacon, avocado, mushrooms, pineapple (like pizza, you either love it or hate it!)
Oil for grilling and toasting buns
Instructions
Set up your burger bar with all the fixings so everything’s ready when the burgers come off the grill.
Remove the beef from the refrigerator and divide it into two bowls. For purists, season one pound with just salt and pepper. For the adventurous, season the second pound with porterhouse seasoning and freshly ground pepper. Mix gently with your hands, being careful not to overwork the mixture.
Shape into 8 patties (4 per pound), making a small indent in the center to prevent puffing. Use a toothpick to mark which patties have extra seasoning. Place on a sheet pan and refrigerate if not grilling immediately.
Clean the grates with oil or a cut onion, then heat over medium-high heat. No outdoor grill? No problem — a cast-iron pan on the stovetop works well, too.
Place the patties on the grill and resist the urge to press or move them. Cook for 2-6 minutes, then flip and cook for an additional 2-6 minutes or until the desired doneness is achieved. For cheeseburgers, add the cheese after flipping; the hot patty will help it melt. Remove and let rest for 2 minutes.
Slice the buns and place them cut-side down on the grill for 30-60 seconds, until lightly toasted. Watch carefully to prevent burning.


Notes
I prefer Artesano brioche buns; they’re soft, thin, toast beautifully, and actually hold everything together without falling apart in your hands. Potato buns, sesame seed buns, or regular brioche work great too.
Don’t overwork the meat when forming patties. Loose and gentle handling keeps them tender and flavorful.
Trust the process. The burgers will release from the grill when they’re ready to flip. Don’t force it, and patience makes for better burgers.
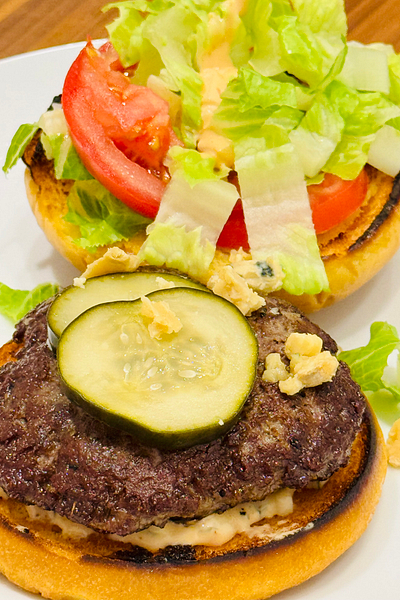
My go-to combination: I toast Artesano buns until golden, then cook the burger over medium-high heat for 3 minutes per side to achieve a perfectly crispy crust with a juicy center. While it rests, I whip up my signature sauce — equal parts mayonnaise, ketchup, and yellow mustard, mixed with diced Icicle Pickles for a tangy crunch. Then I pile on blue cheese crumbles, crisp lettuce, fresh tomato, and a few extra icicle pickles for good measure.
Adaptations
Grass-fed beef: Any ground beef works as long as you get that crucial 20% fat content for juicy, flavorful burgers — mix a couple of different fat percentages to hit that sweet spot.
Hamburger buns: For gluten-free options, Canyon Bakehouse makes the best alternative I’ve found. Also worth noting: potato buns aren’t actually gluten-free, despite what the name might suggest.
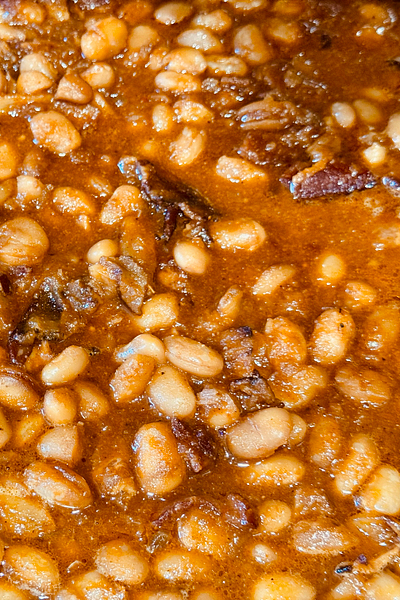
Dad’s Elevated Baked Beans (With My Own Twist)

Dad's approach was beautifully simple: dump Bush's Baked Beans into a pan, cover with pepper, and warm them up. For special occasions, he'd jazz things up with extra beans, ketchup, brown sugar, bacon, and, you guessed it, a lot more pepper.
I've taken some serious liberties with his original recipe, adding BBQ sauce, upgraded low-sugar ketchup, organic apple cider vinegar, garlic powder, smoked paprika, and red onion. He's probably looking down from heaven, thinking I completely ruined his masterpiece! But I have a feeling he'd actually love this version, especially with the Kansas City BBQ sauce (a nod to one of our heritage homes, where Mom's aunt settled and where Dad and Linda shared the same January 12th birthday), plus the Tajin and Tapatio, because Dad could never get enough Mexican flavors. Me neither!
Serves: 6-8
Time: 20 minutes prep (plus cooking time)
Ingredients
For the sauce mixture:
3 tablespoons brown sugar
3 tablespoons Kansas City BBQ sauce
3 tablespoons Rao's ketchup
3 tablespoons apple cider vinegar
1 1/2 teaspoon garlic powder
1 1/2 teaspoon smoked paprika
1 1/2 teaspoon Tapatio hot sauce
1 1/2 teaspoon Tajin Clásico seasoning
For the beans:
2 (15 oz cans) Great Northern beans
1/2 red onion, chopped
8 slices of bacon (4 sliced in half for cooking, 4 chopped into pieces for topping)
Directions
Preheat oven to 300°F
In a bowl, whisk together all sauce ingredients (from brown sugar to Tajin). Set aside.
Chop the red onion by hand or pulse it in a food processor until finely diced.
In a Dutch oven or large oven-safe skillet, cook 4 halved bacon slices over medium-high heat until crispy. Transfer to a paper towel-lined plate, reserving the rendered fat in the pan.
Reduce the heat to medium and add the chopped onions to the bacon fat. Sauté until softened, about 3-5 minutes.
Pour in the prepared sauce mix and add the beans. Stir until well combined and cook for about 2 minutes, allowing the flavors to meld.
If your pan isn’t oven-safe, transfer everything to a casserole dish and top with the remaining chopped bacon pieces.
Bake for 30 to 40 minutes until the mixture is warm and has developed a syrupy consistency. Let cool for a few minutes before serving.


Note: Don't discard that bean liquid — it adds extra flavor and helps create the perfect consistency. These beans also get even better the next day, when the flavors have time to marry.
Adaptations
Brown sugar: Substitute with honey, maple syrup, or molasses + white sugar
Kansas City BBQ sauce: Any style of BBQ sauce works great
Rao's ketchup: Heinz or Primal Kitchen are great alternatives
Apple cider vinegar: White wine vinegar or rice wine vinegar works equally well
Garlic powder: 2 fresh minced garlic cloves instead
Smoked paprika: Regular paprika or chipotle chili powder make good swaps
Tapatio: Try Tabasco or Cholula for similar heat
Tajin: Mic chili powder with salt, sugar, and lime zest as a substitute
Great Northern beans: → Navy beans are an excellent alternative
Red onion: Yellow or white onions work just as well
Bacon: Turkey bacon, Canadian ham, or tempeh for different dietary needs
Napa Wedge Salad with Bacon & Blue Cheese
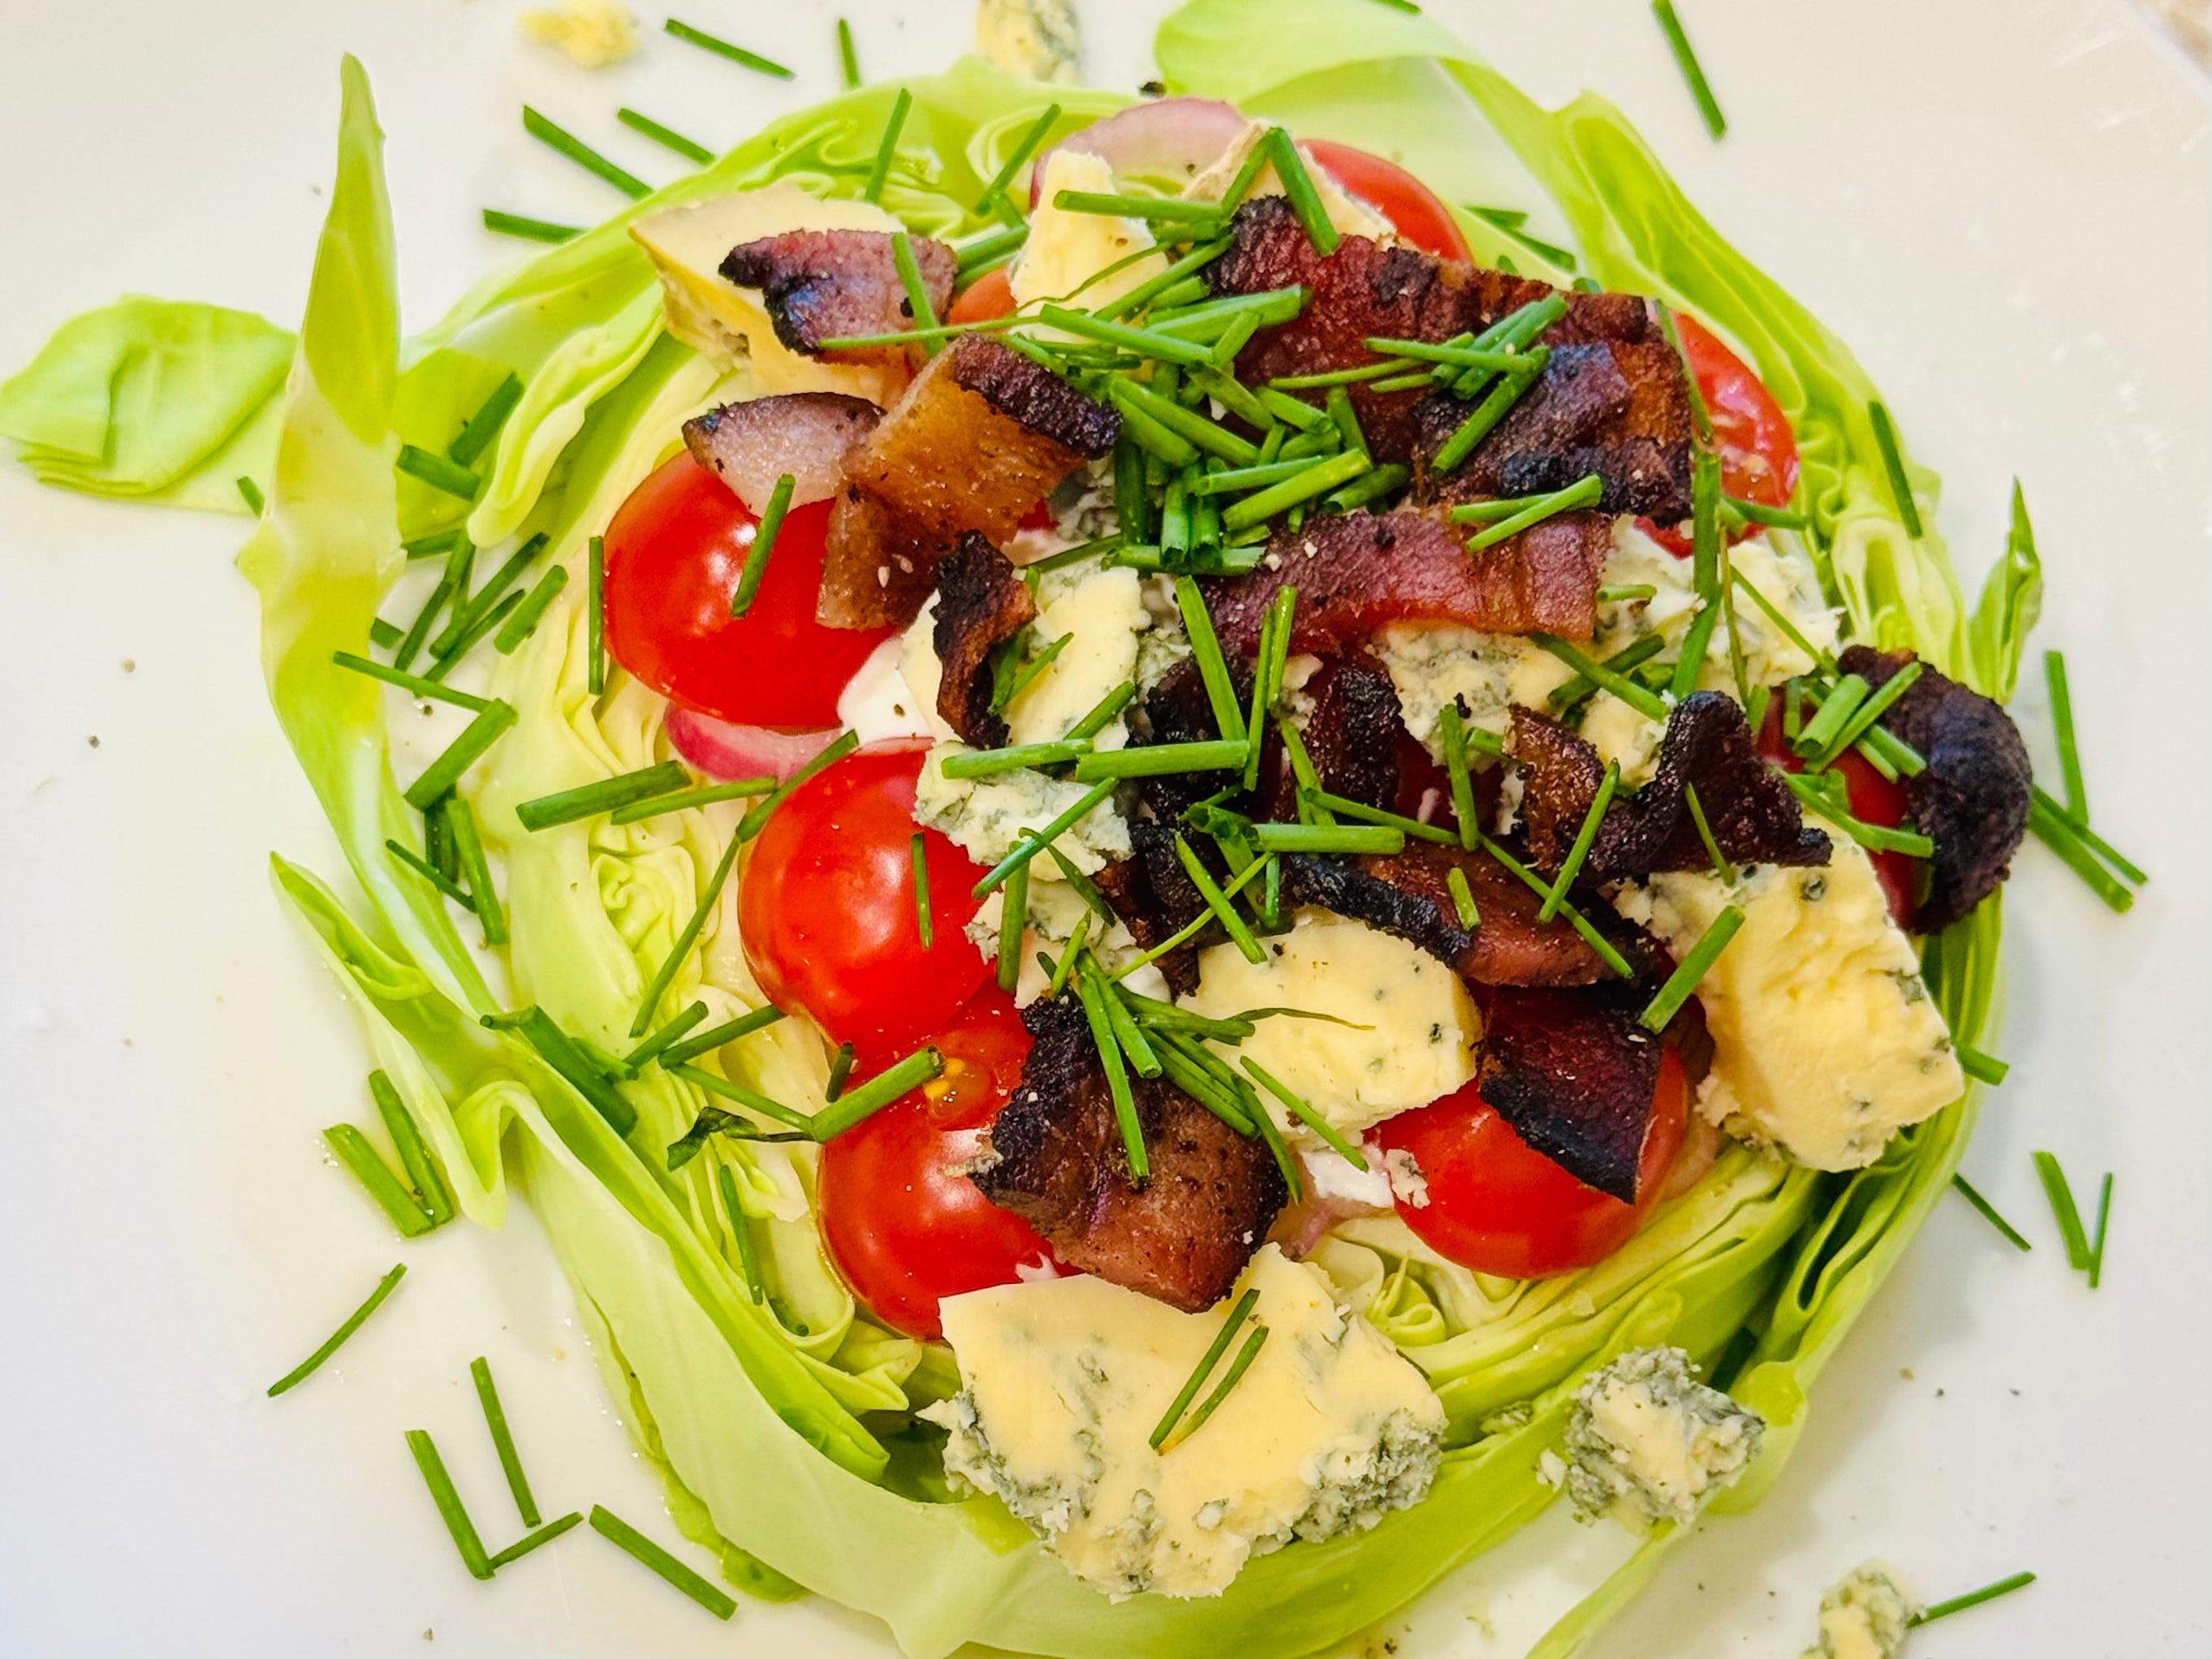
I recently made Erin French's Napa Wedge Salad, and it was absolutely show-stopping. This gem is on page 83 of her cookbook, Big Heart Little Stove. It's become my new go-to when I want something that looks fancy but comes together effortlessly.
The combination is pure magic: crispy bacon, delicate shallots, fresh napa cabbage, burst-in-your-mouth cherry tomatoes, tangy blue cheese, bright chives, and her signature touch of edible flowers. All the best flavors work together beautifully, creating the perfect counterpoint to heartier dishes like baked beans and burgers. Sometimes the simplest recipes are the most memorable ones.
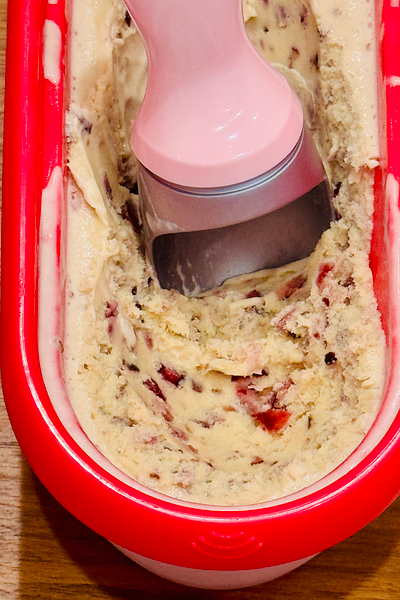
Homemade Custard-Based Cherry Ice Cream
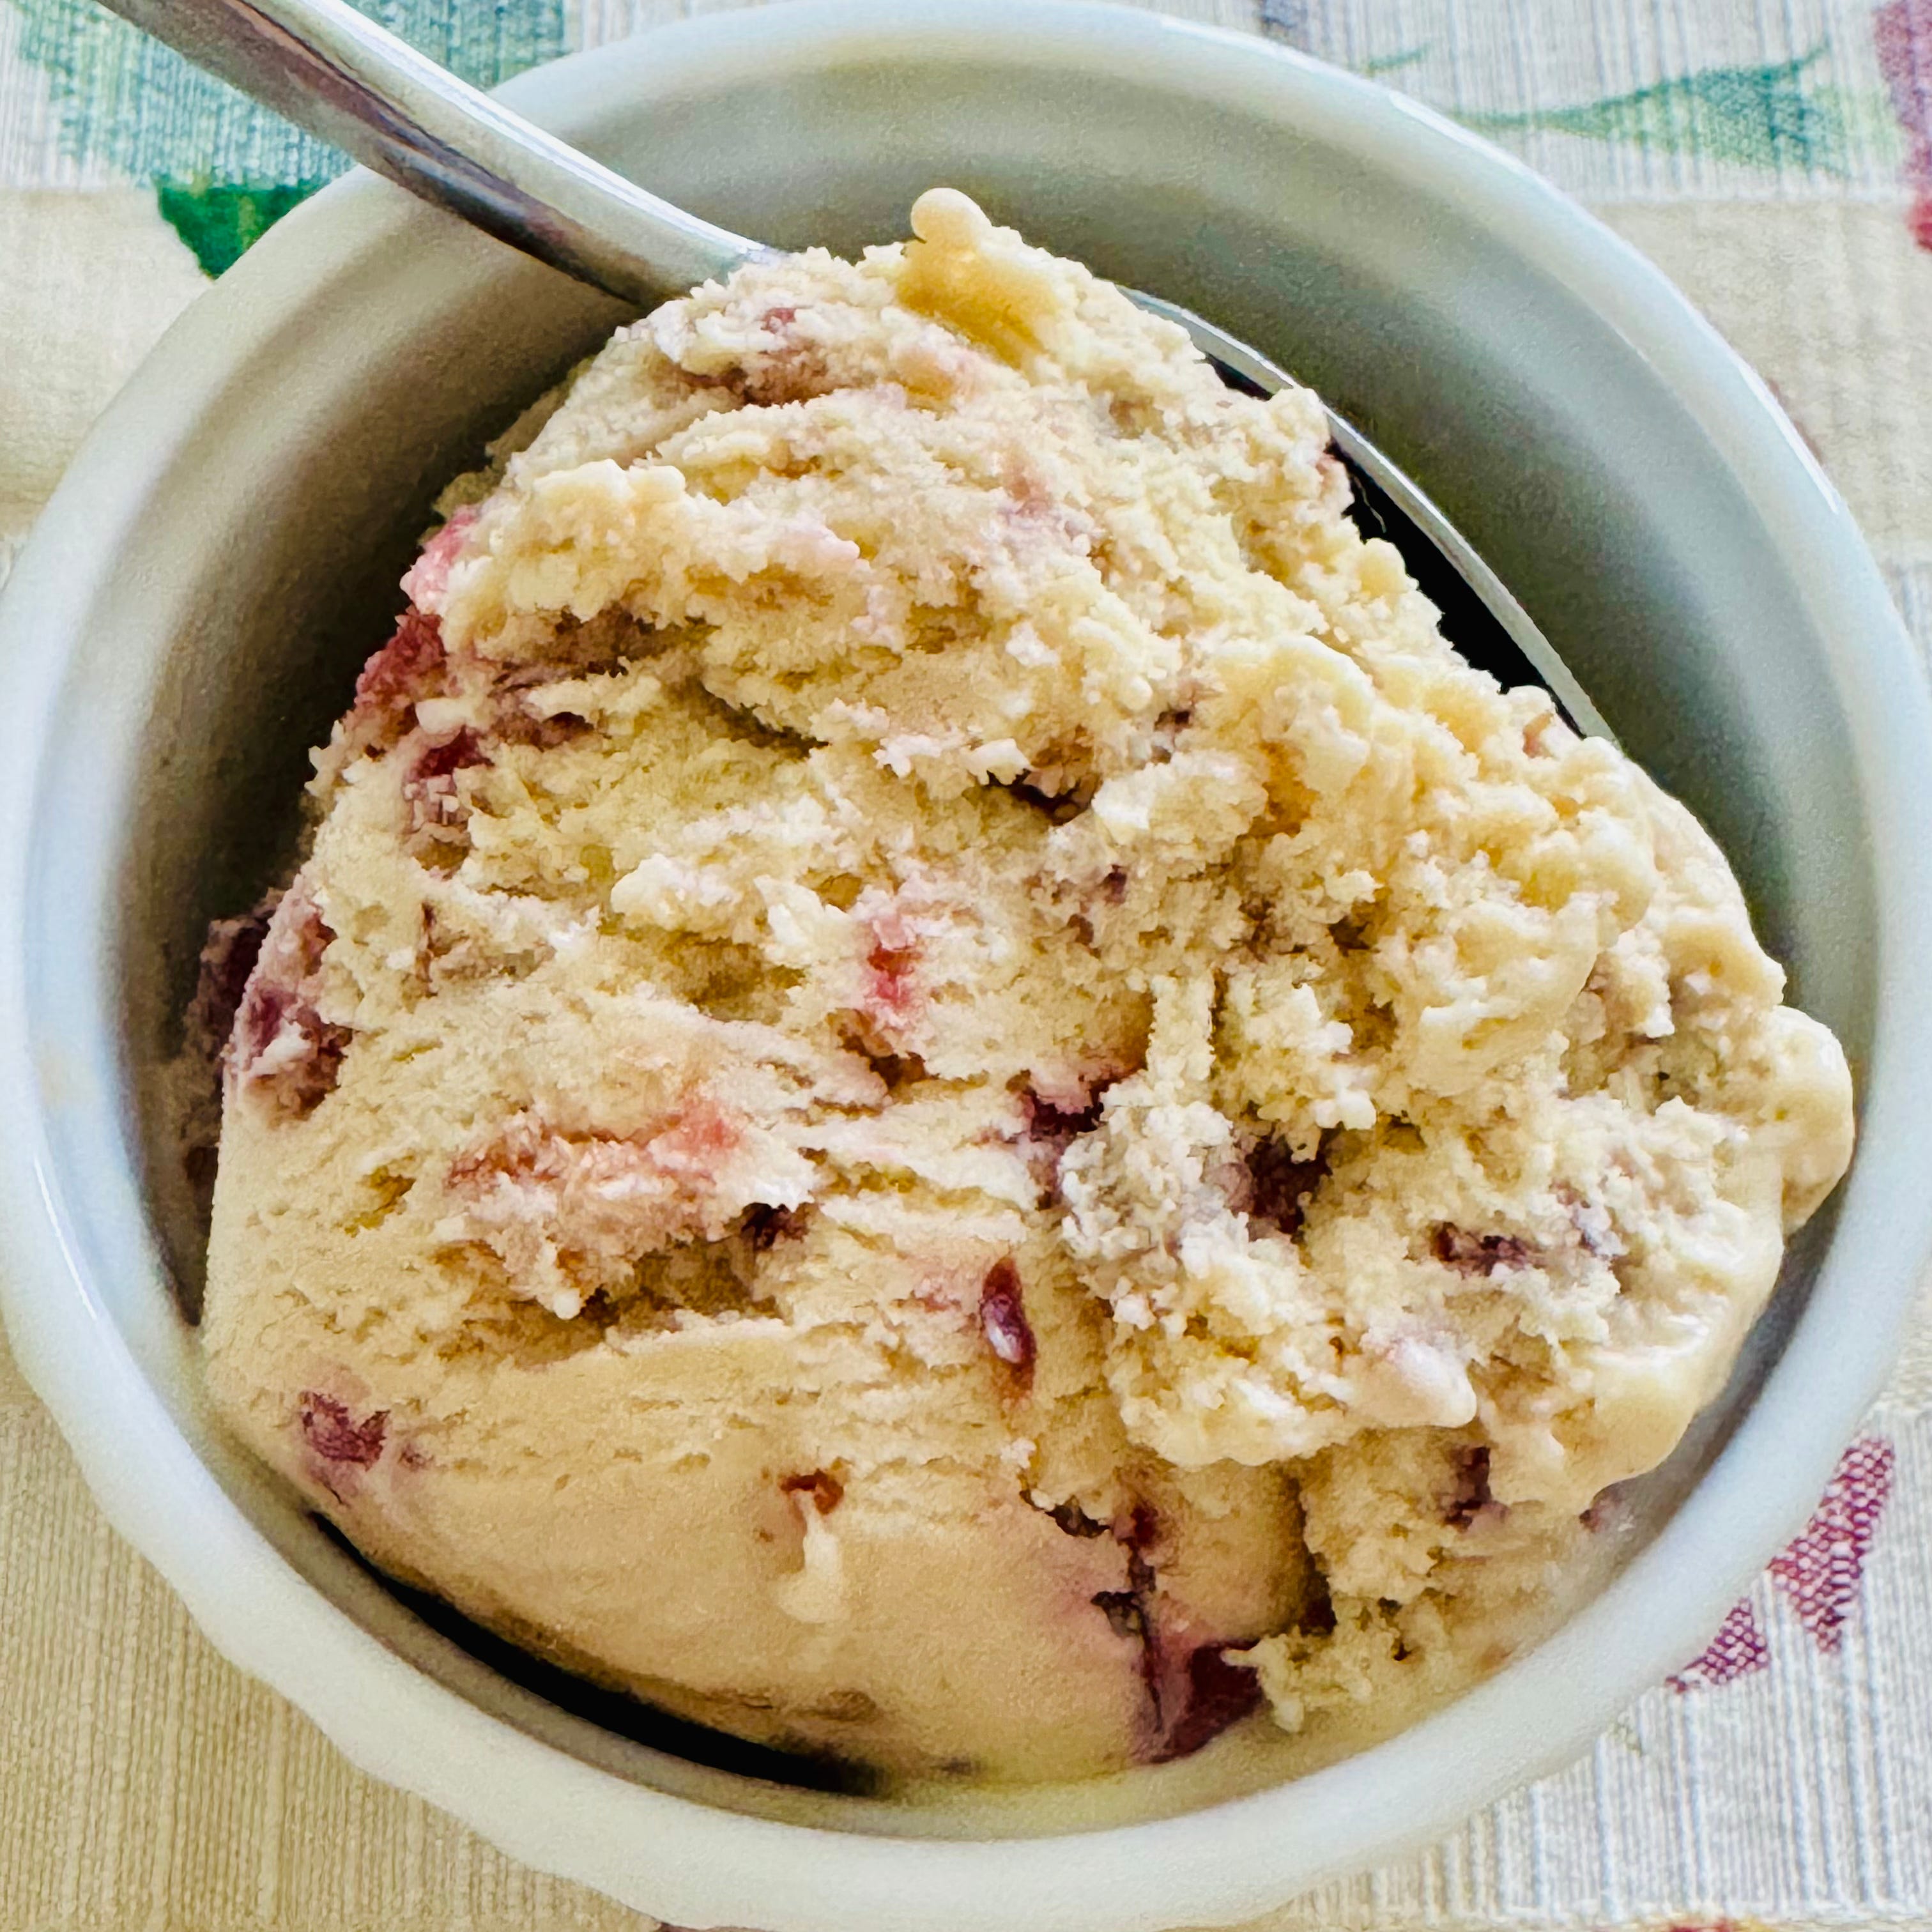
I'll confess — I've fallen down the homemade ice cream rabbit hole, and I'm not trying to climb back out! This latest creation is a rich, custard-based cherry ice cream that perfectly balances creamy indulgence and bright, tangy fruit. Each spoonful delivers little bursts of sweet-tart cherry goodness, like summer captured in frozen form. Whether you're celebrating a holiday or just treating yourself on a Tuesday, this one's a keeper.
Serves: 8
Time: 20 minutes (plus chilling time)
Ingredients
6 egg yolks
1 pint heavy cream
1 cup whole milk (grass-fed preferred)
2/3 cup sugar
Pinch of salt
1 teaspoon vanilla extract
1 teaspoon almond extract
1 cup fresh cherries, pitted and chopped
Directions
In a small bowl, whisk the egg yolks until smooth and set aside.
Combine cream, milk, sugar, and salt in a medium saucepan. Heat over medium heat, stirring constantly, until the sugar dissolves and the mixture begins to steam and bubble around the edges (about 5 minutes). Remove from heat.
Temper the eggs by slowly drizzling 1/2 cup of the warm cream mixture into the whisked yolks, whisking constantly to prevent scrambling.
Pour the tempered egg mixture back into the saucepan with the remaining cream. Stir in vanilla and almond extracts.
Return to medium heat and cook, stirring constantly, until the custard coats the back of a spoon.
Remove from heat and immediately strain through a fine-mesh strainer into a clean bowl to remove any lumps.
Cool the custard to room temperature, then cover it and refrigerate it for 4 hours or overnight.
While the custard chills, pit and chop the cherries into small pieces (or pulse briefly in a food processor to achieve a uniform size).
Churn the custard in an ice cream maker following the manufacturer’s directions. Add the chopped cherries during the last 5-10 minutes of churning.
Serve immediately as soft-serve, or transfer to an airtight container and freeze for firmer scoops. Keeps for up to 2 weeks.
Notes
The almond extract beautifully complements the cherries, so don't skip it!
Tempering is essential when mixing raw eggs with cream to create a silky smooth custard and prevent the eggs from scrambling. It's like getting to know someone on a first date — get to know each other before you go any further.
Adaptations
Egg-free option: Swap each egg yolk for a flax egg (mix 1 tablespoon ground flaxseed with 3 tablespoons water per yolk, then let it sit for 5 minutes to thicken).
Dairy-free version: Replace the heavy cream with full-fat coconut cream and use canned coconut milk instead of whole milk.
Pairings


Serve: Mary Jane’s Potato Salad or try Dad’s Grill Burger Recipe for the ultimate backyard spread.
Drink: Crack open a cold beer, mix up a refreshing Arnold Palmer (equal parts lemonade and iced tea — spiked or not!), or try something special like Wölffer Estate’s non-alcoholic sparkler. I discovered the gem at Trader Joe’s after following the Long Island vineyard for years, and what a delightful surprise to find it non-alcoholic.
Their Spring in a Bottle Rosé tastes remarkably like the real deal, perfect for dry days or when you want to keep the celebration going without the buzz. Made from organically grown Pinot Noir, Pinot Meunier, Saint Laurent, and Dornfelder grapes from Germany’s Rheinhessen region.
Dessert: Follow up with a watermelon boat (hollow out a watermelon, cube the flesh, and fill with your favorite fruits), grab a popsicle, or go all out with homemade frozen treats like Lemon Ice, Strawberry Honey Ice Cream, Peach Ice Cream, Raspberry Lime Sorbet, or today’s Cherry Ice Cream.

Reviving Family Recipes
When recreating these recipes, I aim to make them easy so you can prepare them at home without exhaustive directions and hours of clean-up. Heritage recipes can be challenging to read, understand, adapt, and recreate, but it can be done! I'm finding my way, and you can too!
Next time you have the chance, rummage through your grandmother's recipe box, book, or file folder and pull out her "famous lemon tarts from 1949." Make your family's heritage recipe! If it's your first attempt and proves difficult, you might want to pull your hair out, but don't give up! Trust me, it gets easier.
Make it again, listen to the recipe, learn its language, and fill in the missing pieces. Imagine your grandmother standing beside you, whispering a pearl of wisdom. Smile, and enjoy every moment of this warm experience. When you're finished, you'll feel so satisfied that you may not even care if it tastes good.
However, if the recipe doesn't turn out as you expected, make it again, and this time, make it your own - using orange instead of lemon, making it gluten-free, or using less sugar. If it turns out delicious and is easy to recreate, share it proudly and tell your story around the gathering table.
Share Your Family Table
I invite you to share your family recipes and the stories behind them. I'd be delighted to feature them here. If you have a handwritten recipe card or a dish that reminds you of home, I would love to help bring your family's culinary legacy to life. Send me a DM or email your recipe, and I'll take a look!
Show your support by pressing the heart (❤️) or leaving a comment!
Your engagement helps this newsletter grow and reach a wider audience. Thanks for sharing it with others.
This was a great story going back to all the parties and fun during Fourth of July I remember all the parties in the back yard after spending the day at the parade
The fun with our neighbors the kids playing volleyball ball and the food. Oh so good
Thank you Jennifer for bringing back all these great memories for me♥️
Your dad is so cute. Such a classic menu and perfect for the 4th. And I love Artesano brioche buns too!!!! They are the best!